Graphics
3.01 Understand concepts used to create digital graphics.
|
| ||||||
3.02 Understand digital graphics production methods, software, and hardware.
| 103.02.pdf |
Graphics Projects
Learning how to make appealing, yet effective graphic designs is a skill that can be applied in virtually all types of industry. No matter what type of job you may have in the future, applying the elements and principles of design properly to convey the intended message to your audience can help set your work apart from the others. We will start by building a few basic projects that teach you the fundamentals of Adobe Photoshop, then apply those skills to create professional looking advertisements and other artifacts. Show me what you got!
Getting Started With Photoshop
Photoshop's Toolbox
Selection Tools
Layer Styles in Photoshop
The Free Transform Tool (Command + T)
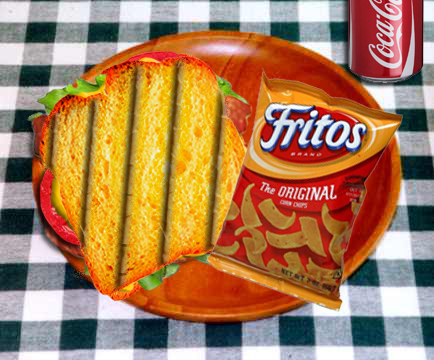
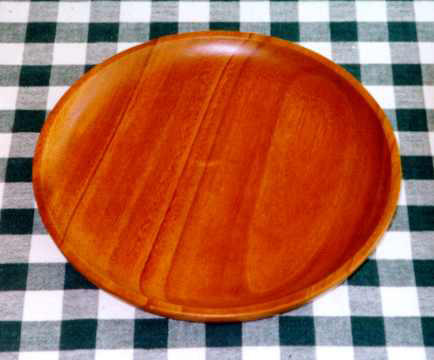
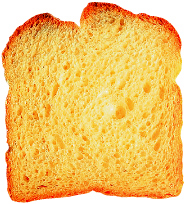
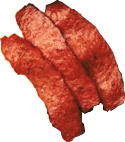
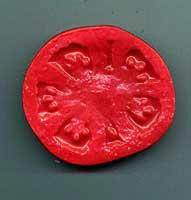
The Sandwich ProjectThe objective of this project is to obtain a better understanding of Photoshop Layersby creating the layers of a sandwich on a plate. Utilizing layers effectively is a key skill to have in order to create efficient and fully editable graphics. If layers are not used effectively, it can be detrimental to the success of your project.
You have been hired to create a graphic design for Tom's Diner. The owner wants a BLT sandwich with sides as a graphic for the diner. He has supplied you with an image of a plate from the diner, as well as images of the ingredients for the sandwich. You are to follow the directions given by the project manager to complete the project for the target audience. There is a PDF tutorial located to the right to help you complete this project. However, since this is the first project we will be completing in Photoshop, we will walk through this procedure together as a class. Remember as you look for other items on-line to add to your sandwich to make sure to find high resolution images with a solid color background. When you are finished, save the file (in .psd format) to your computer. Make sure to name the file last initial + first name + sandwich.psd (ex: mashleysandwich.psd). This is one of the few times you will not save a JPEG or PNG of your work since only the .PSD file will preserve the layers for each component in your sandwich.
|
| ||||||||||||||||
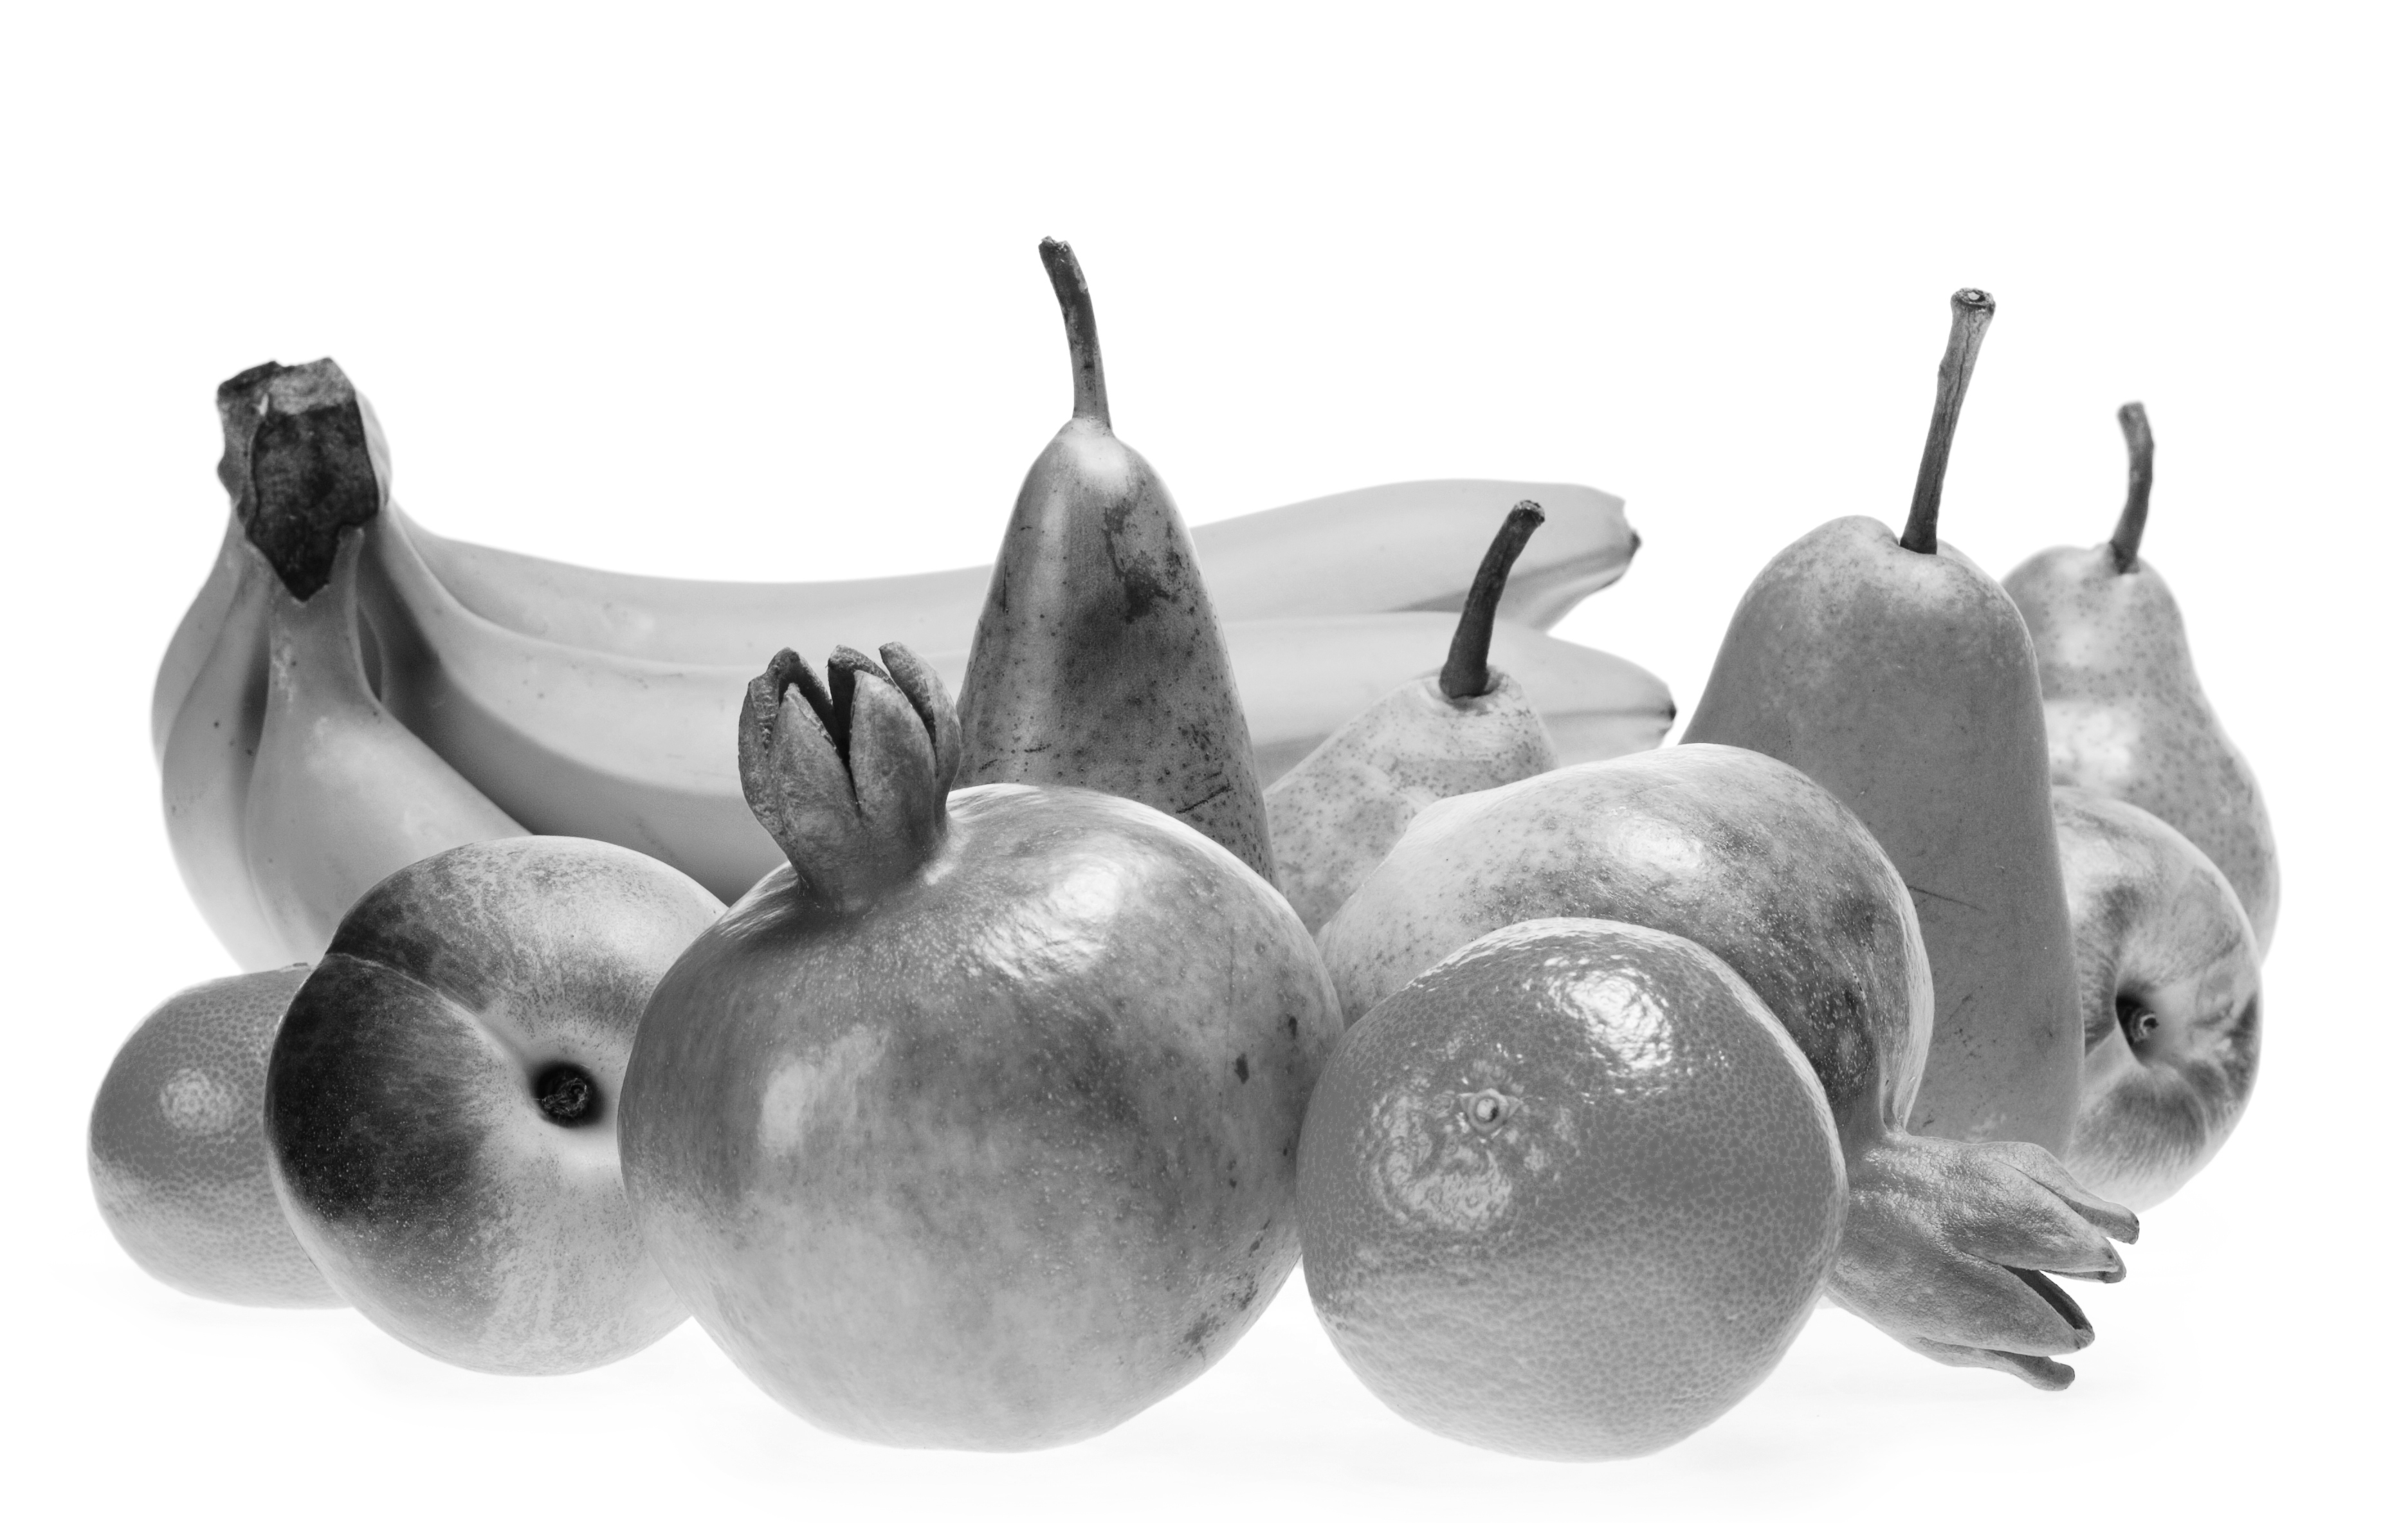
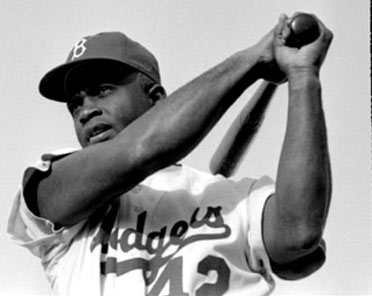
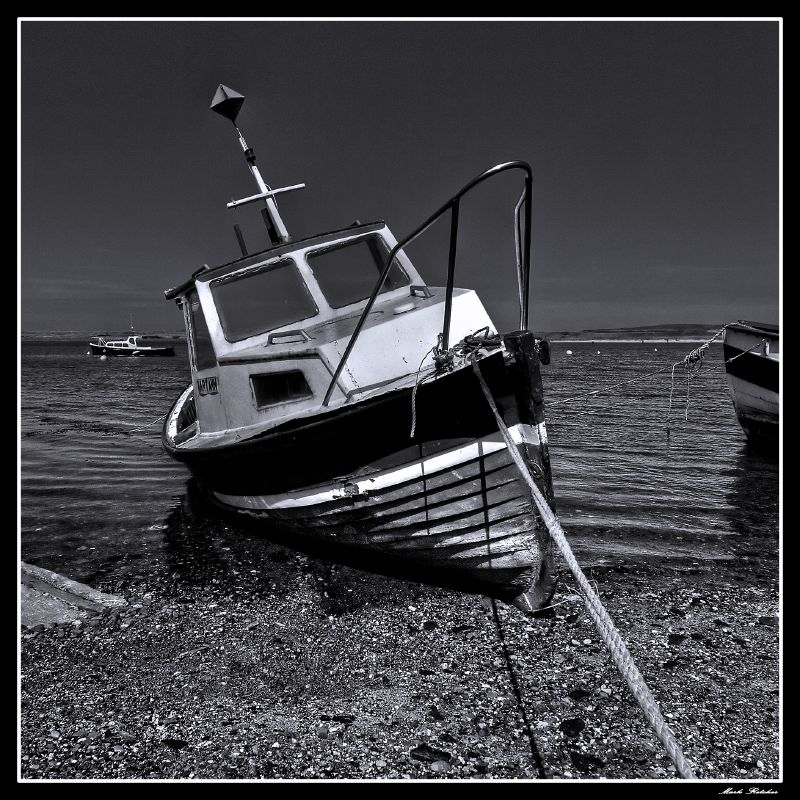
B&W Photo ProjectAdobe Photoshop is a very powerful image editor that can bring life to otherwise dull and unexciting photos. Using the tools and features of the software, a photographer can take his or her pictures to the next level and produce professional-looking images.
In this project, you will learn how to use the selection and coloring tools of Photoshop to add a splash of color to a black and white photo. The overall goal is to bring a dull photo back to life by accurately coloring the components to make them seem life-like. Finish all of the black and white images on the right and use the refined selection tools of Photoshop to carefully select particular areas and add color. Be sure to add each color on its own layer just in case you need to make adjustments later on. Leaving several colors on the same layer (especially the background layer) can result in you having to start your project all over again! As you work, save your project as a .psd and name it last initial + first name + bw.psd. When you are finished, save it again as a JPEG with the same name (ex: mashleybw.jpg) |

| ||||||
|
| ||||
Warhol ProjectNow that you've learned how to precisely add color to a black and white image, let's apply that knowledge in a fun and personal setting. In this project, you are going to paint several renditions of a picture of yourself and arrange it in a grid. A famous artist that used this technique to develop pop art advertising is Andy Warhol. We are going to mimic this technique to create an original, personal piece of art.
First you will use the on-board camera of the Apple iMac to take your picture. Be creative with your pose so your project will be appealing and interesting! You will apply a filter inside Photoshop to make it look like a black and white sketch, then use your selection and coloring techniques to create the Warhol effect. You want to have a minimum of 3 different colors per box. Remember to use bright colors! As you work, save your project as a .psd and name it lastname + first initial + warhol.psd. When you are finished, save it again as a JPEG with the same name (ex: pettywwarhol.jpg) |

| ||
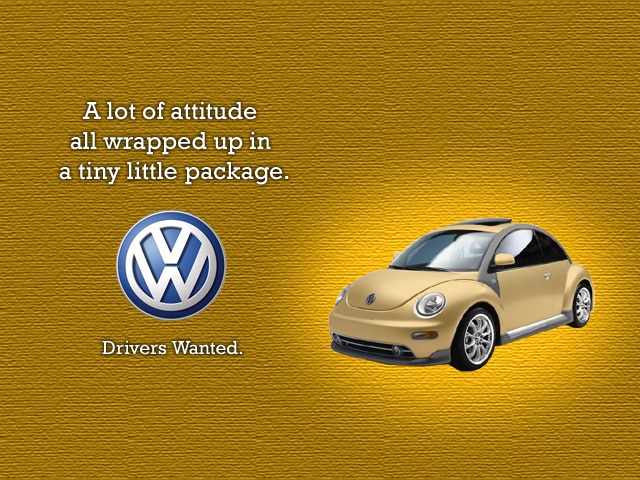
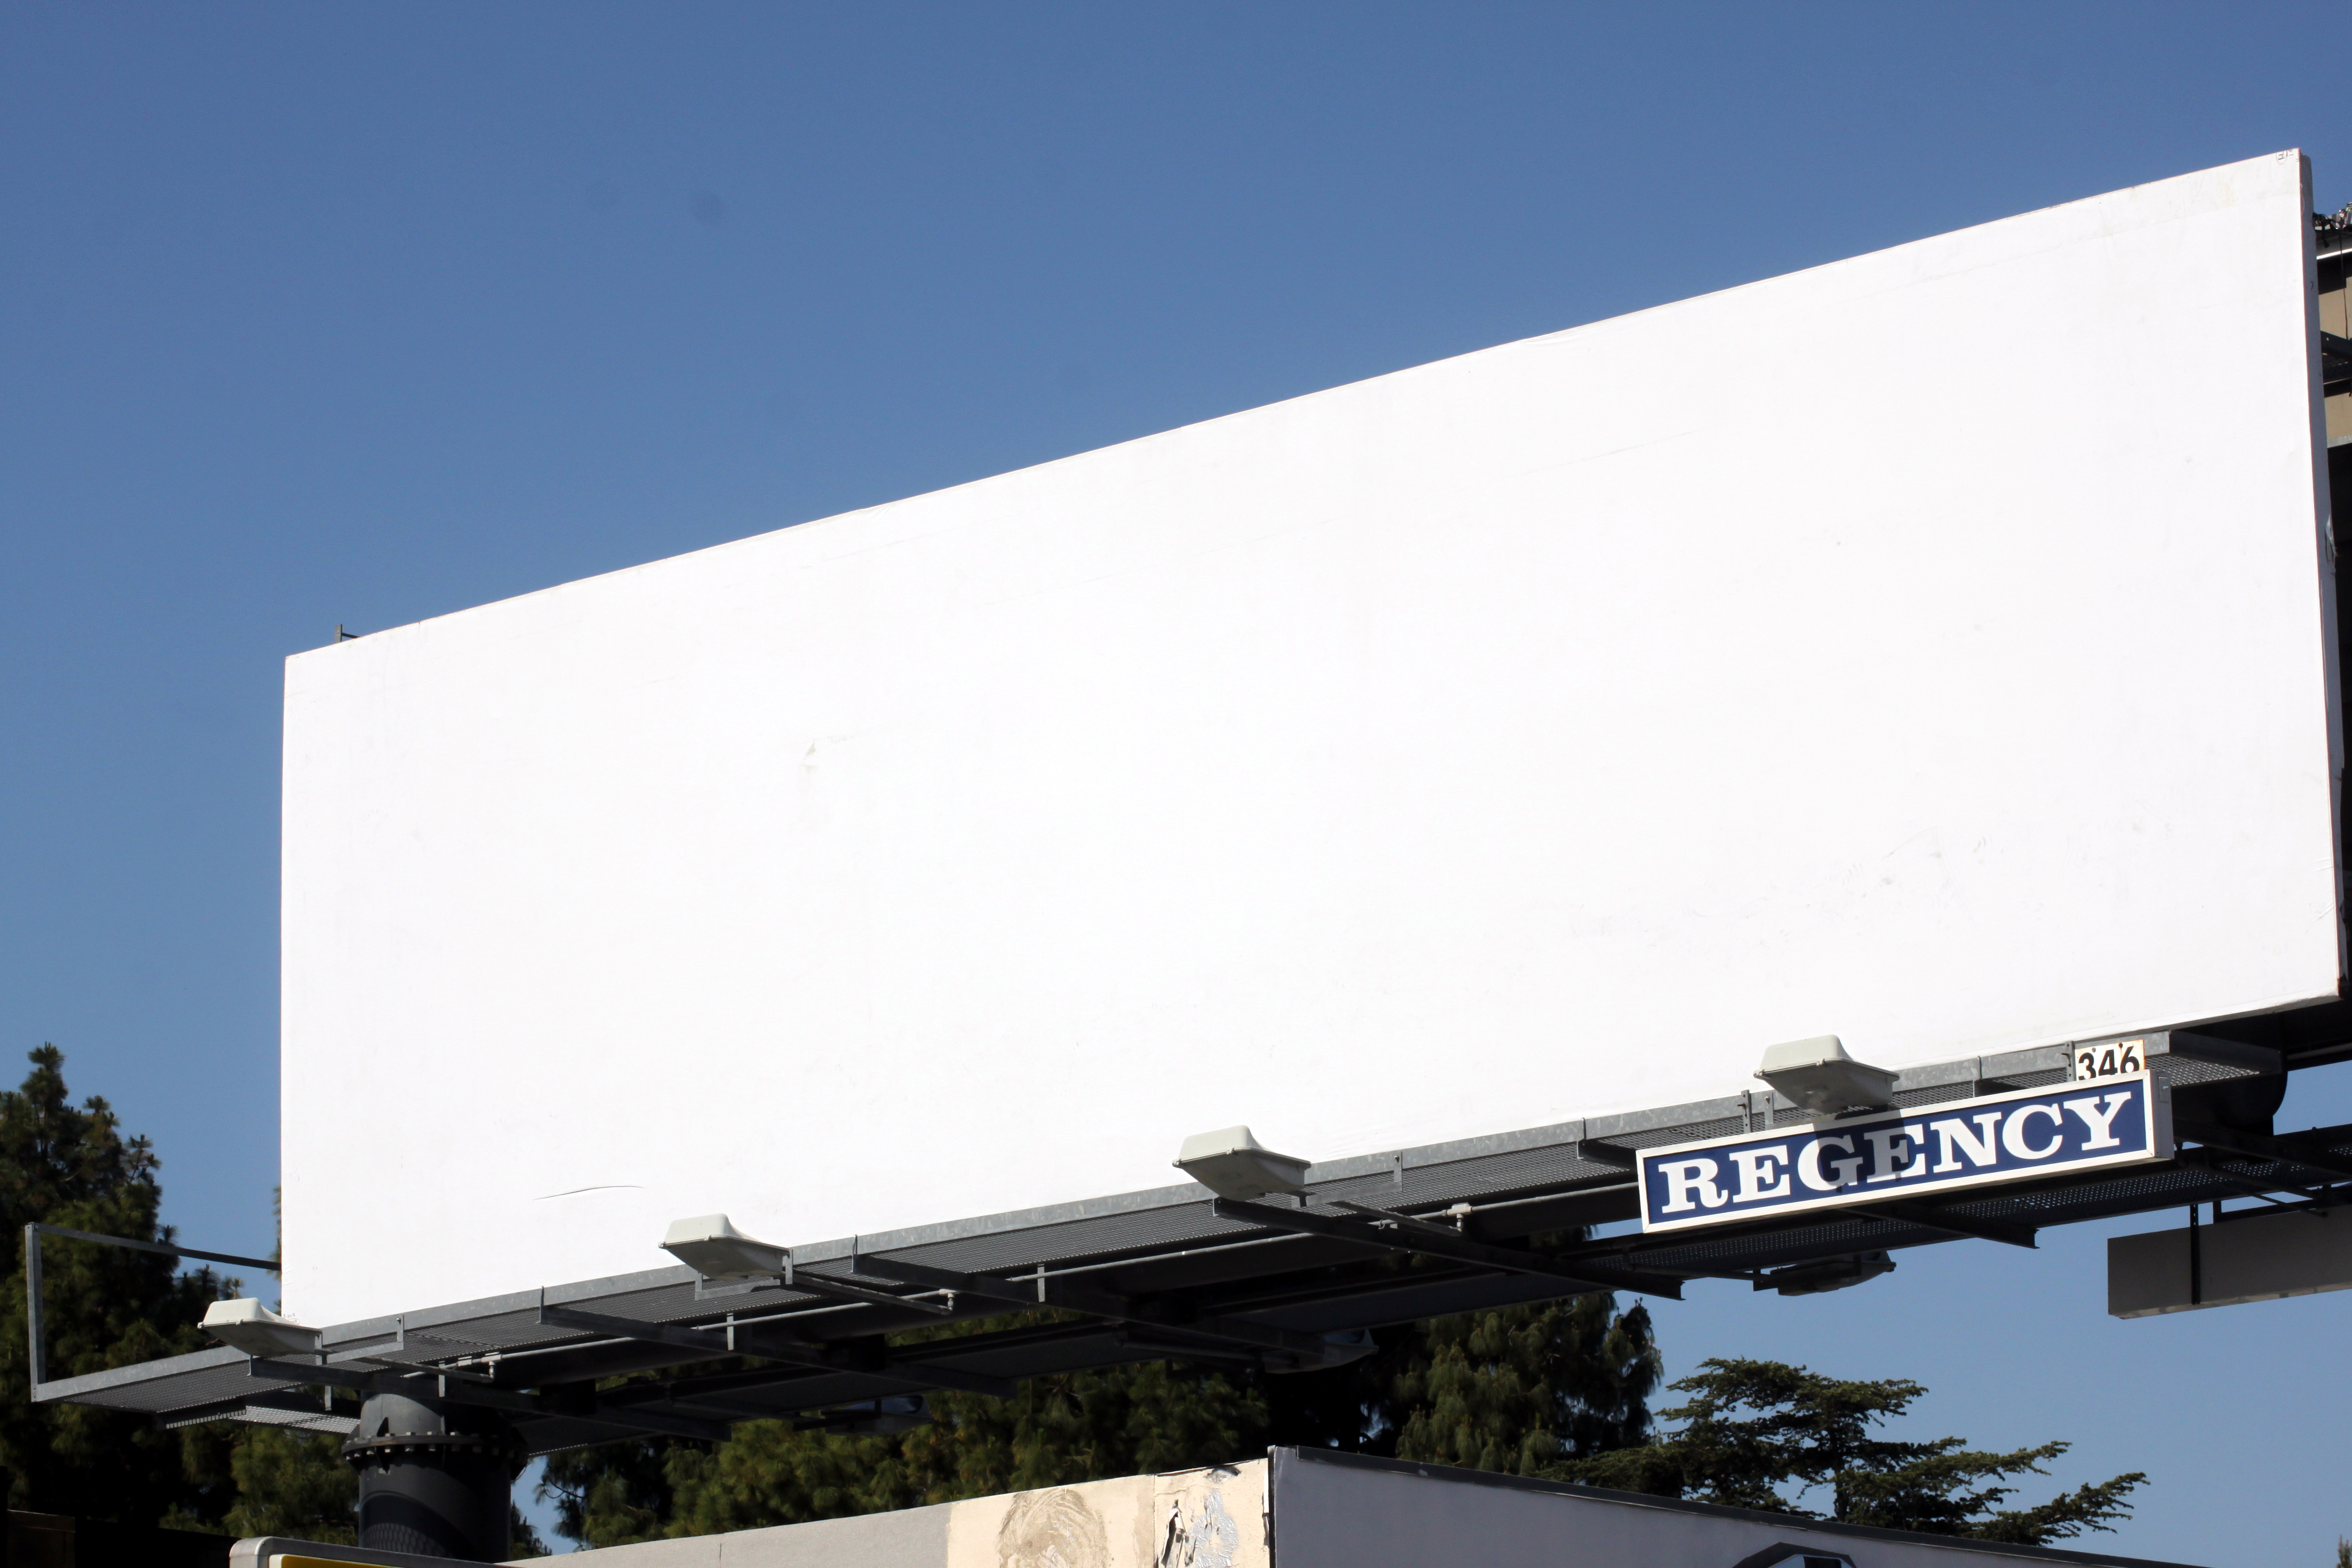
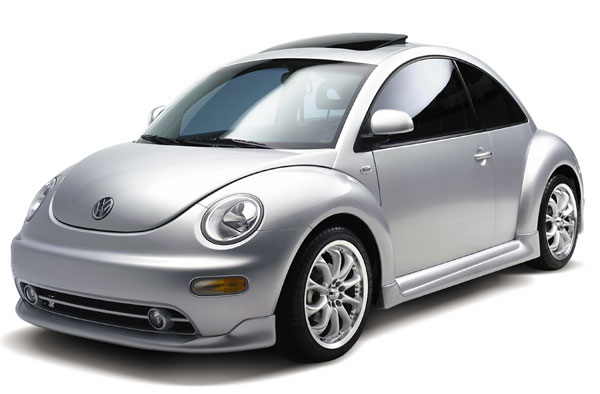
Beetle ProjectYou have been hired as a graphic designer by VW. They want to see what other colors they should offer in the beetle and to see an example of how toadvertise their product. Your final product must be a well-developed, attractive advertisement complete with the car's manufacturer logo and unique catchy slogan. Your background and your car should be the same color. Add a layer style to the text to make it stand out. Come up with an original catch phrase slogan. There is a PDF tutorial located to the right to help you complete this project.
Be sure to arrange your components in a way that utilizes the Elements and Principles of Designand accomplishes your intended purpose. Your finished product will look similar to the example above, but may have a different background, different car color, and different catch phrase. Two-tone the car to challenge your skills and ablities. As you work, save your project as a .psd and name it lastname + first initial + bettlebug.psd. When you are finished, save it again as a JPEG with the same name |
| ||||||||
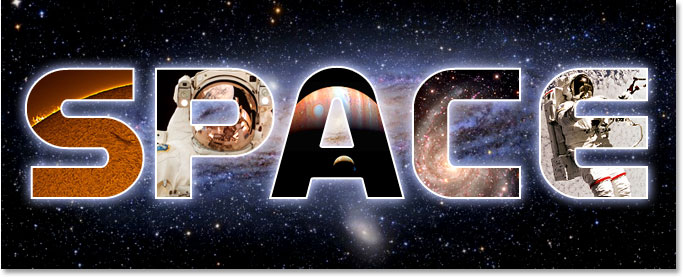
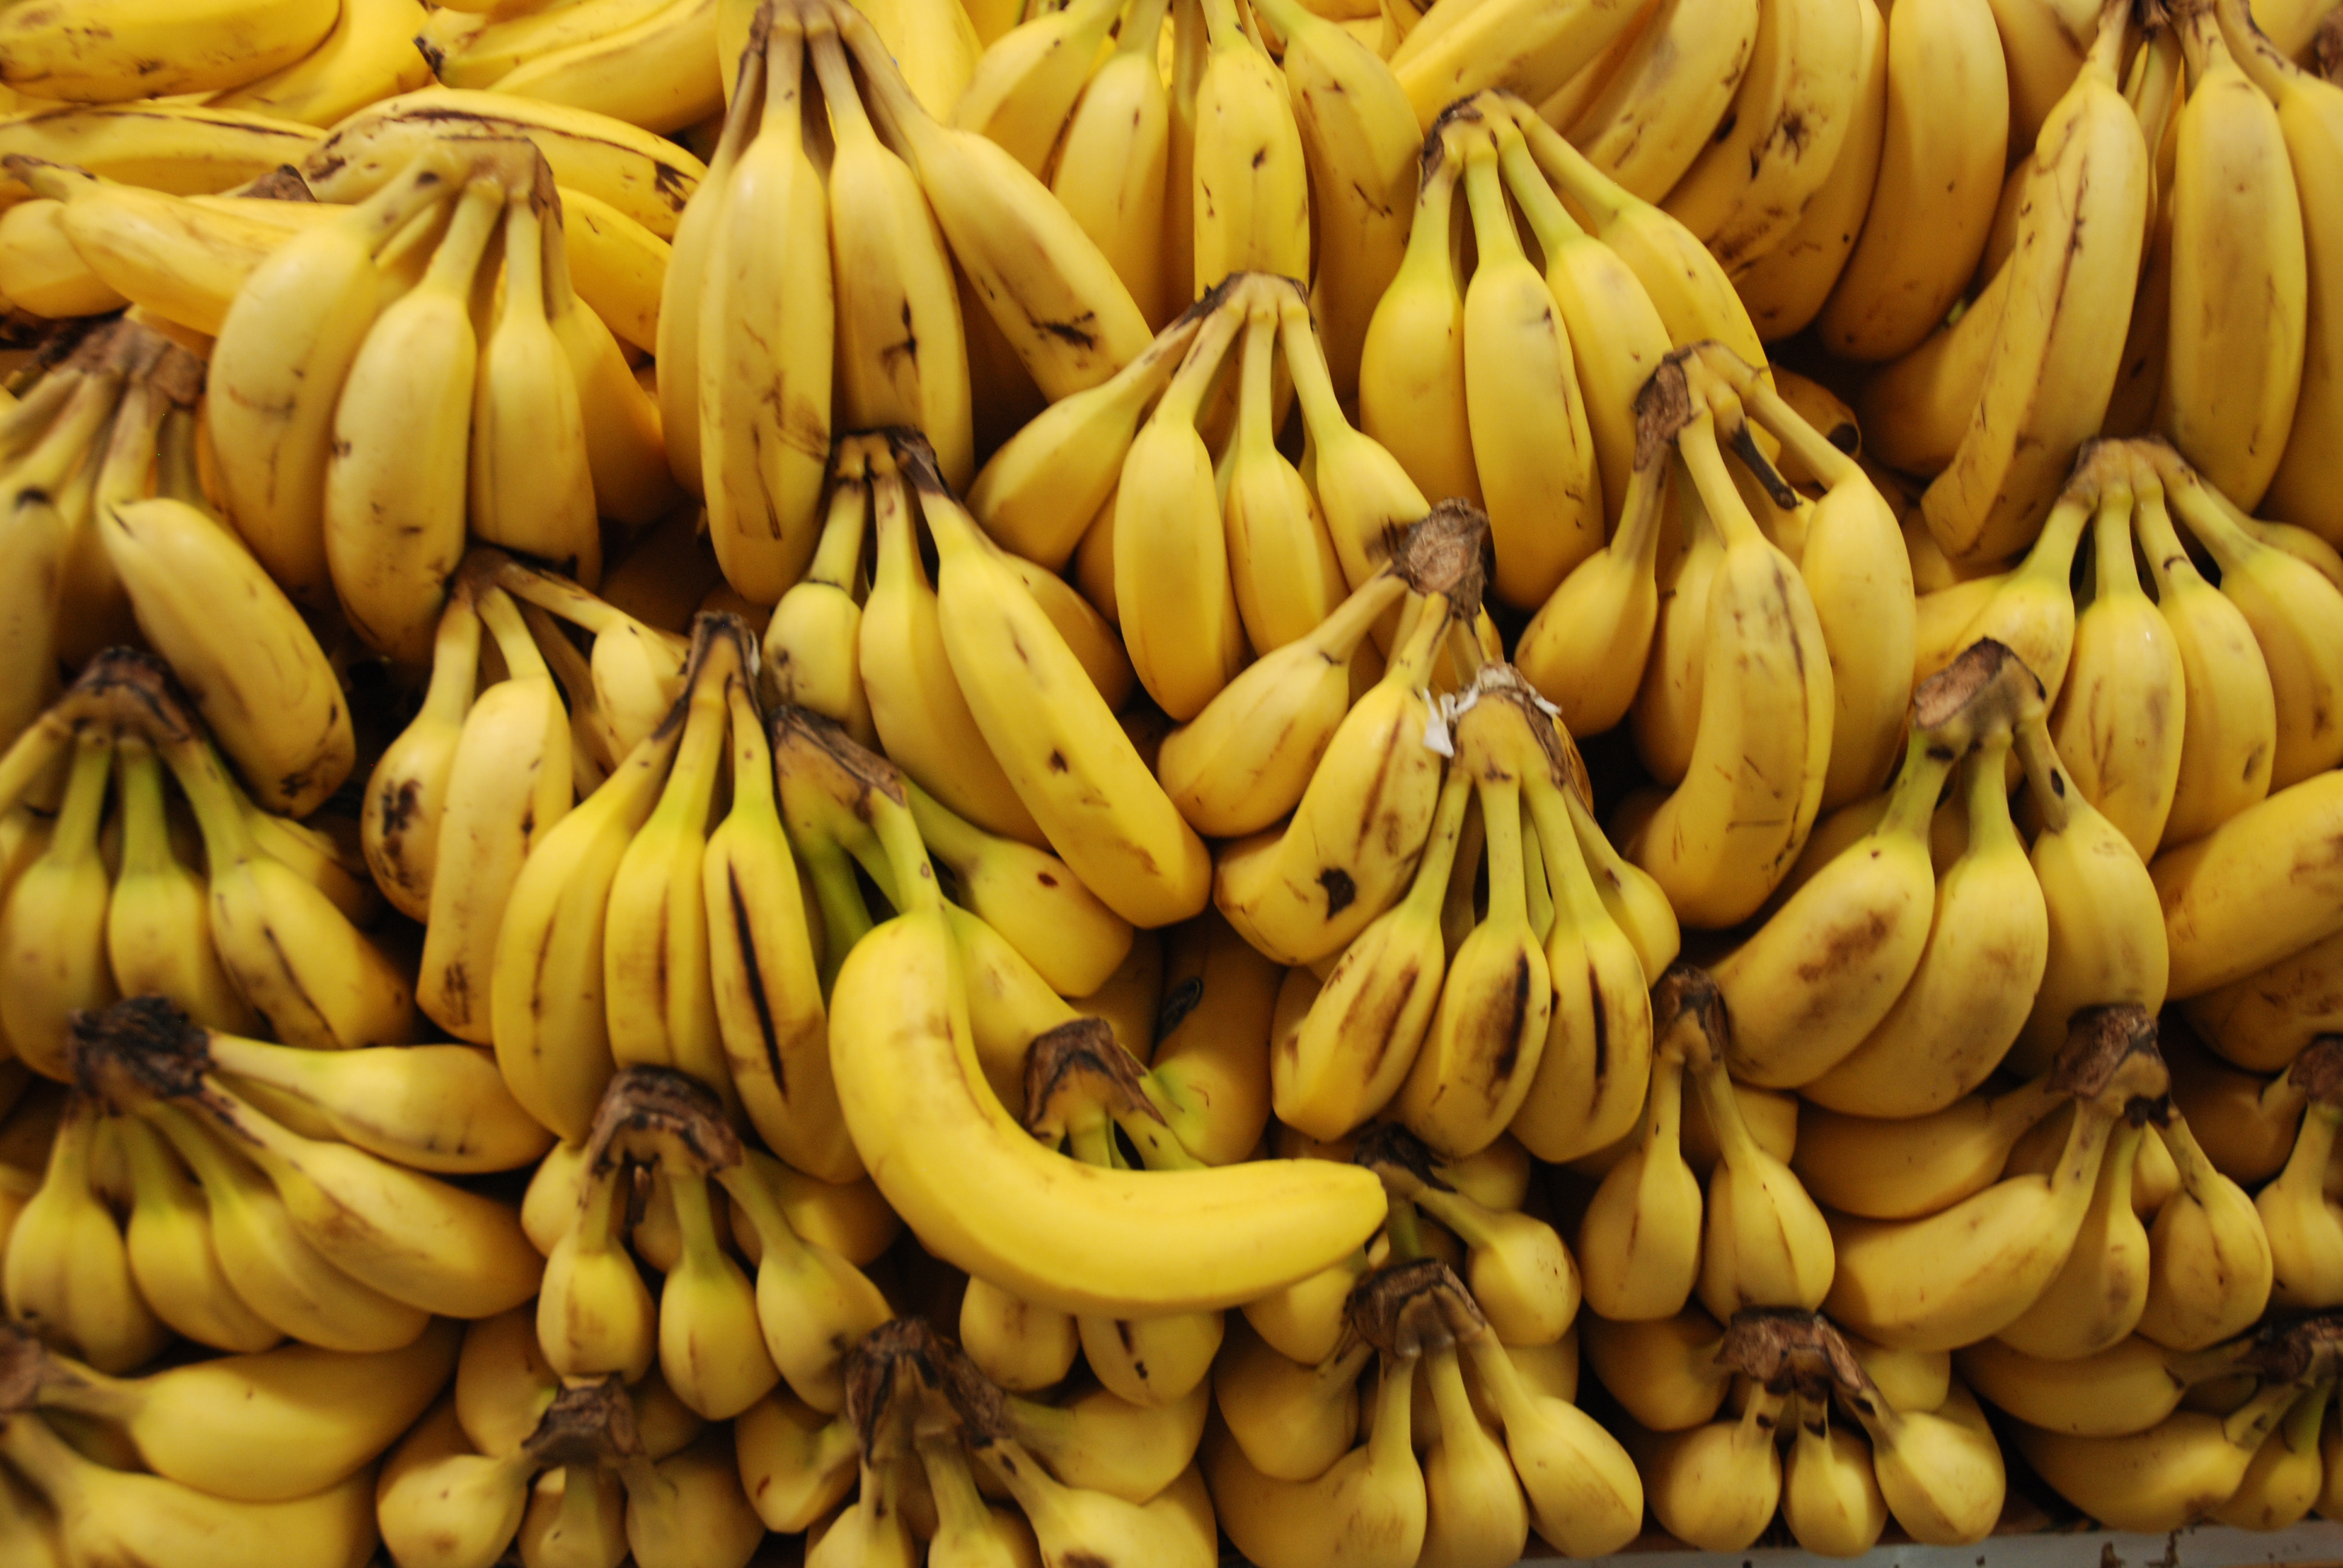
Picture Text ProjectUsing the layer mask technique in Photoshop is often used for placing part of an image inside a particular selection on your canvas. A good example of this is fitting pictures inside letters of a word or phrase.
In this project, you will get a collection of pictures from the internet that represent who you are. We will practice using the layer mask technique by placing each of your images inside each letter of your first name. Start by creating a new document in Photoshop that is 1000 pixels wide and 250 pixels tall. Use the text tool ( T )to type your name, then Layer>Rasterize>Type, then place a new image inside each letter using selection tools and masks. Be sure to maneuver the layer mask and picture so that the image is easily distinguishable and interesting. Add a Layer Style to the text to make it stand out and add a background behind the text that relates. As you work, save your project as a .psd and name it lastname + first initial + letters.psd. When you are finished, save it again as a JPEG with the same name |
|
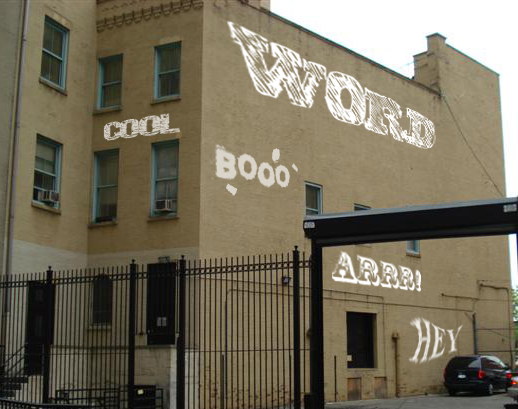
Graffiti Wall ProjectGraffiti can be found on walls and buildings throughout America. Sometimes it is an act of defacing property, but other times it is an art form. You are going to use the weblink to the right to complete the tutorial for creating graffiti on a wall.
A few things different from the tutorial are the following: 1-Must find a wall that is at an angle to put the graffiti on 2-Text must be white (use dafont.com to come up with cool fonts) 3-Must have a least 5 different graffiti words (different fonts for each) 4-Must rasterize the type before you change perspective (Layer>Type>Rasterize) 5-Use distort with perspective under transform to get to look more realistic on the wall 6-Change the blending mode to overlay, adjust opacity as well to make more realistic As you work, save your project as a .psd and name it lastname + first initial +graffiti.psd. When you are finished, save it again as a JPEG with the same name (ex: pettywgraffiti.jpg) Submit the .JPG file using the form on the right. |
|

|
| ||
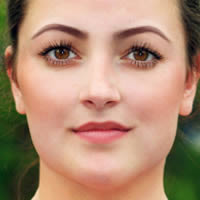
Realistic Makeup Application in Photoshop
Tutorial
Tutorial
